
1/Enable Cloudflare
We’ve integrated Cloudflare directly into the Yegara dashboard so you can boost your website’s performance and security with just a few clicks—no need to juggle multiple accounts or leave your hosting panel.
By enabling this built-in integration, your website instantly takes advantage of Cloudflare’s powerful edge network.
Here is how to keep everything in sync.
1/ Login to your Yegara Dashboard
2/ Click Packages > My Packages

3/ Click on the Package you need to manage
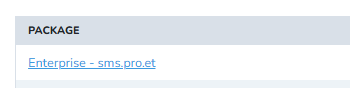
4/ Click on Enable Cloudflare
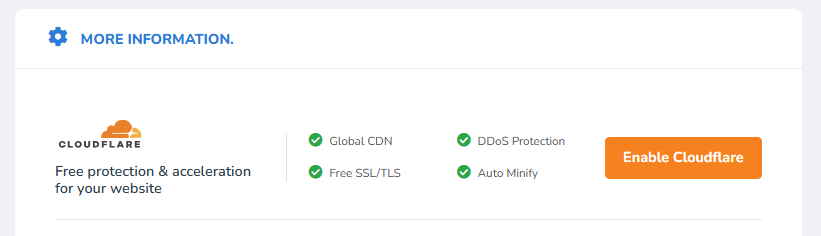
5/ Click On Enable Cloudflare

DONE: Wait 15 minutes for this to process and sync the records.
2/Sync Your DNS – zone editor
Once you enable Cloudflare via our dashboard, your domain’s authoritative DNS is managed by Cloudflare. This means if you change something in the cPanel Zone Editor, the rest of the internet won’t see it until you tell our dashboard to “push” those changes to Cloudflare.
When should you use this? Use this tool whenever you add a new subdomain, change an A record, or update MX records inside your cPanel Zone Editor.
Here is how to keep everything in sync.
1/ Login to your Yegara Dashboard
2/ Click Packages > My Packages
3/ Click on the Package you need to manage
4/ Click on Active ( Sync )
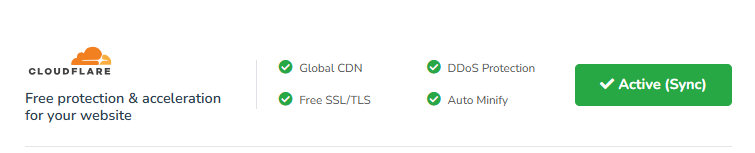
5/ Click On Sync Zone Editor
DONE: Wait 15 minutes for this to process and sync the records.