
1/Add Your Site
1.1 create cloudflare account
Cloudflare offers a wide range of benefits for websites and online applications, primarily focusing on CDN , DNS Management , performance, security, and reliability.
https://dash.cloudflare.com/sign-up
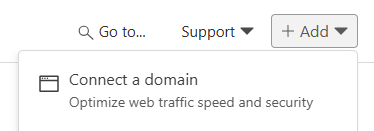
1.2 Click on add a domain

OR click on + add > connect a domain
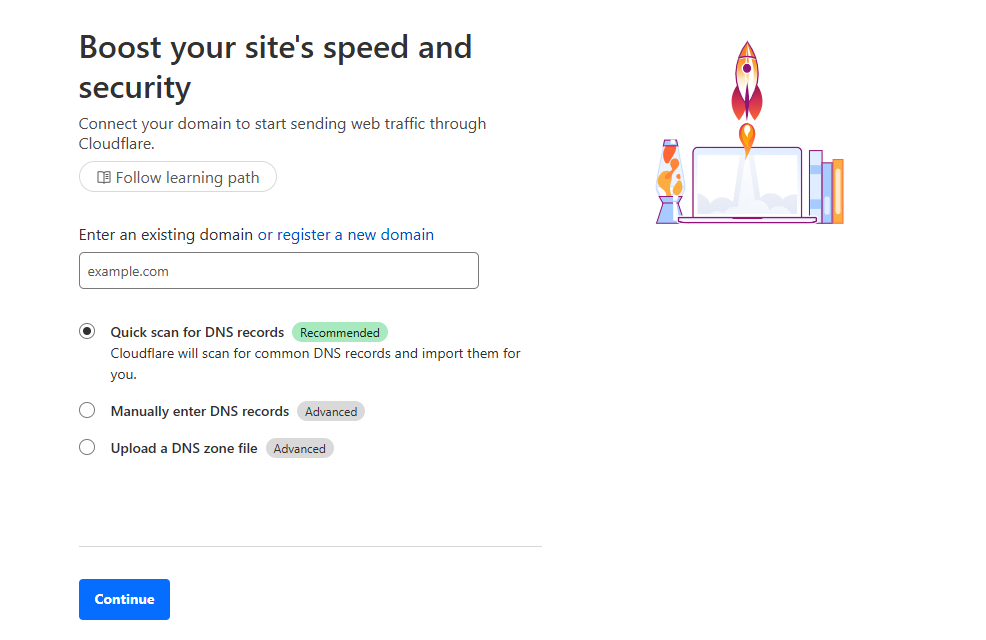
1.3 Add your domain and continue
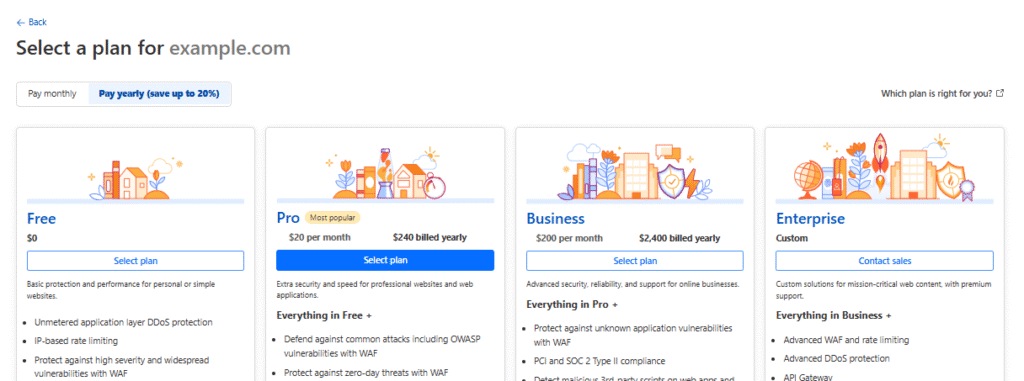
1.4 Select A plan
Click on Select Plan on the FREE Package
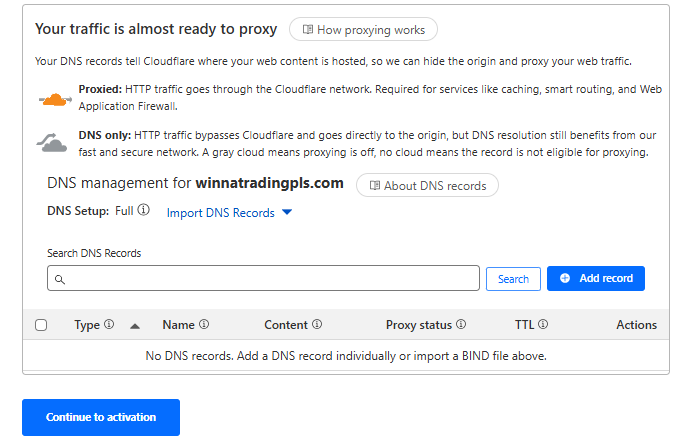
1.5 Add DNS records
you can add the DNS records Now by clicking + Add records now, or you can skip this step and add the records using the DNS menu later
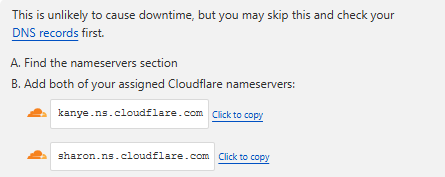
1.6 Update your nameservers:
Cloudflare will provide you with new nameservers. update your domain nameserver in your yegara account > my domains > manage> nameserver
detail instruction : https://yegara.com/en/guide/update-nameserver/
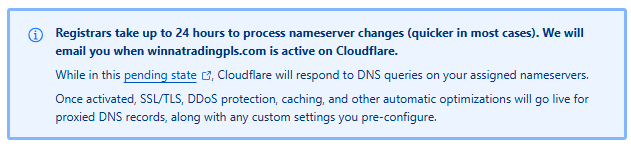
1.7. Wait for propagation:
DNS changes can take up to 24 hours to propagate globally, though it’s often much quicker.
2/ manage your DNS records
Once you’ve set up Cloudflare for your website, configuring your DNS settings is the next step. Proper DNS management ensures your site is accessible and secure.
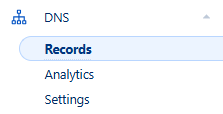
2.1 Access DNS settings:
Log into your Cloudflare dashboard and select your domain. Click on the “DNS” tab.
2.2 Add new records:
To add a new record, click “Add record”. You can create various types of DNS records:
- A Record: Maps a domain to an IPv4 address
- CNAME Record: Creates an alias for another domain name
DNS changes can take some time to propagate globally. Be patient if you don’t see immediate results. Remember, by properly configuring your DNS settings, you’re laying the groundwork for a faster, more secure website. Let’s find out more about how to enhance security in the next section.
