
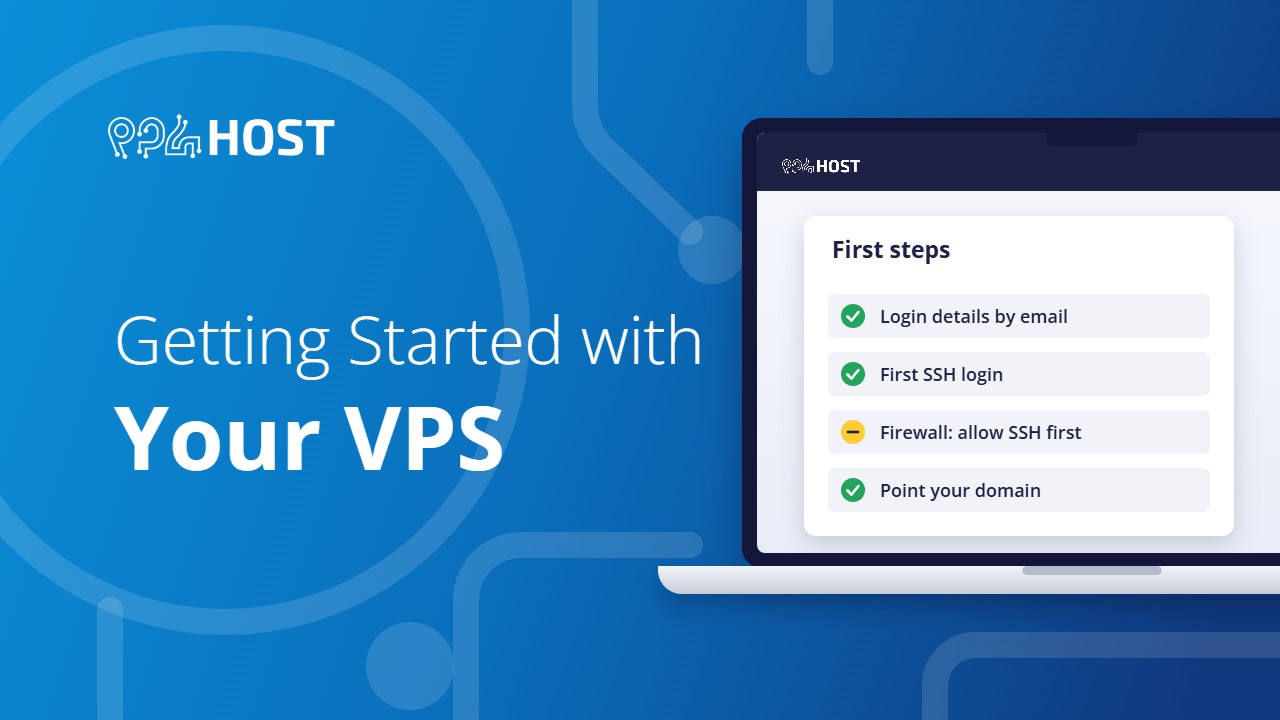
Your VPS is an unmanaged Linux server with full root access. That means you install, secure and maintain everything on it yourself, and our support covers the hardware and the network. This guide gets you from the welcome email to a working server.
On this page
What you receive
- A server running Ubuntu, with one public IP address and root access over SSH.
- The IP address and a one-time root password, sent to your registered email address. Check the spam folder if you do not see it.
- Server tools in your Yegara dashboard: open Hosting & Services and click Manage next to the VPS.
A VPS has no control panel such as cPanel, no email service and no domain name included.
Log in for the first time
On macOS or Linux, open a terminal. On Windows, use PuTTY or the Windows Terminal. Replace YOUR_IP with the IP address from the email:
ssh root@YOUR_IPEnter the one-time password. The server then asks you to choose a new root password before you can continue. Pick a long one and keep it safe.
First things to do
- Update the system:
apt update && apt upgrade -y - Turn on the firewall, allowing SSH first:
ufw allow OpenSSH, thenufw enable. If you enable the firewall before allowing SSH, you lock yourself out. - Open the ports your site needs:
ufw allow 80andufw allow 443for a website. - Plan your backups. Nothing is backed up unless you set it up, or you ordered the automatic daily backup option.
Point a domain to your VPS
Add two A records for the domain, one for @ and one for www, both with your VPS IP address as the value. Where you add them depends on the domain:
- A domain-only order with us has no DNS record editor. Point its nameservers to Cloudflare and add the records there. See How to Manage Your DNS Using Cloudflare.
- A domain with hosting from us is edited in the Zone Editor of the control panel. See How to Manage DNS Records.
- Email: the VPS has no mail service. To keep mailboxes on a shared hosting account while the website runs on the VPS, see Set Up MX Records to Receive Email.
Tools in your dashboard
- Web Console: a screen and keyboard for the server in your browser. Use it in emergencies, for example when SSH is blocked. For daily work use SSH.
- Changepass: sets a new root password.
- Reboot, Reset and Shutdown.
- Rescue and Rebuild: repair a server that will not boot, or reinstall it from scratch. A rebuild erases everything on the server.
Each tool is explained step by step in Managing Your VPS.
If the server stops responding
- Open the Web Console from your dashboard and log in as root. If the console works, the server is running and the problem is the network or the firewall on the server.
- Check the firewall:
ufw status. Make sure SSH and your website ports are allowed. - Check disk and memory:
df -handfree -h. A full disk or no free memory stops most services. - Reboot from the dashboard. Use Reset only if Reboot does nothing.
- Check your invoices. A VPS is suspended 3 days after it expires.
If the Web Console itself does not open, or you suspect a network problem, message us on Telegram with the server IP and, if you can, the output of a traceroute or MTR to the server saved as a text file.
